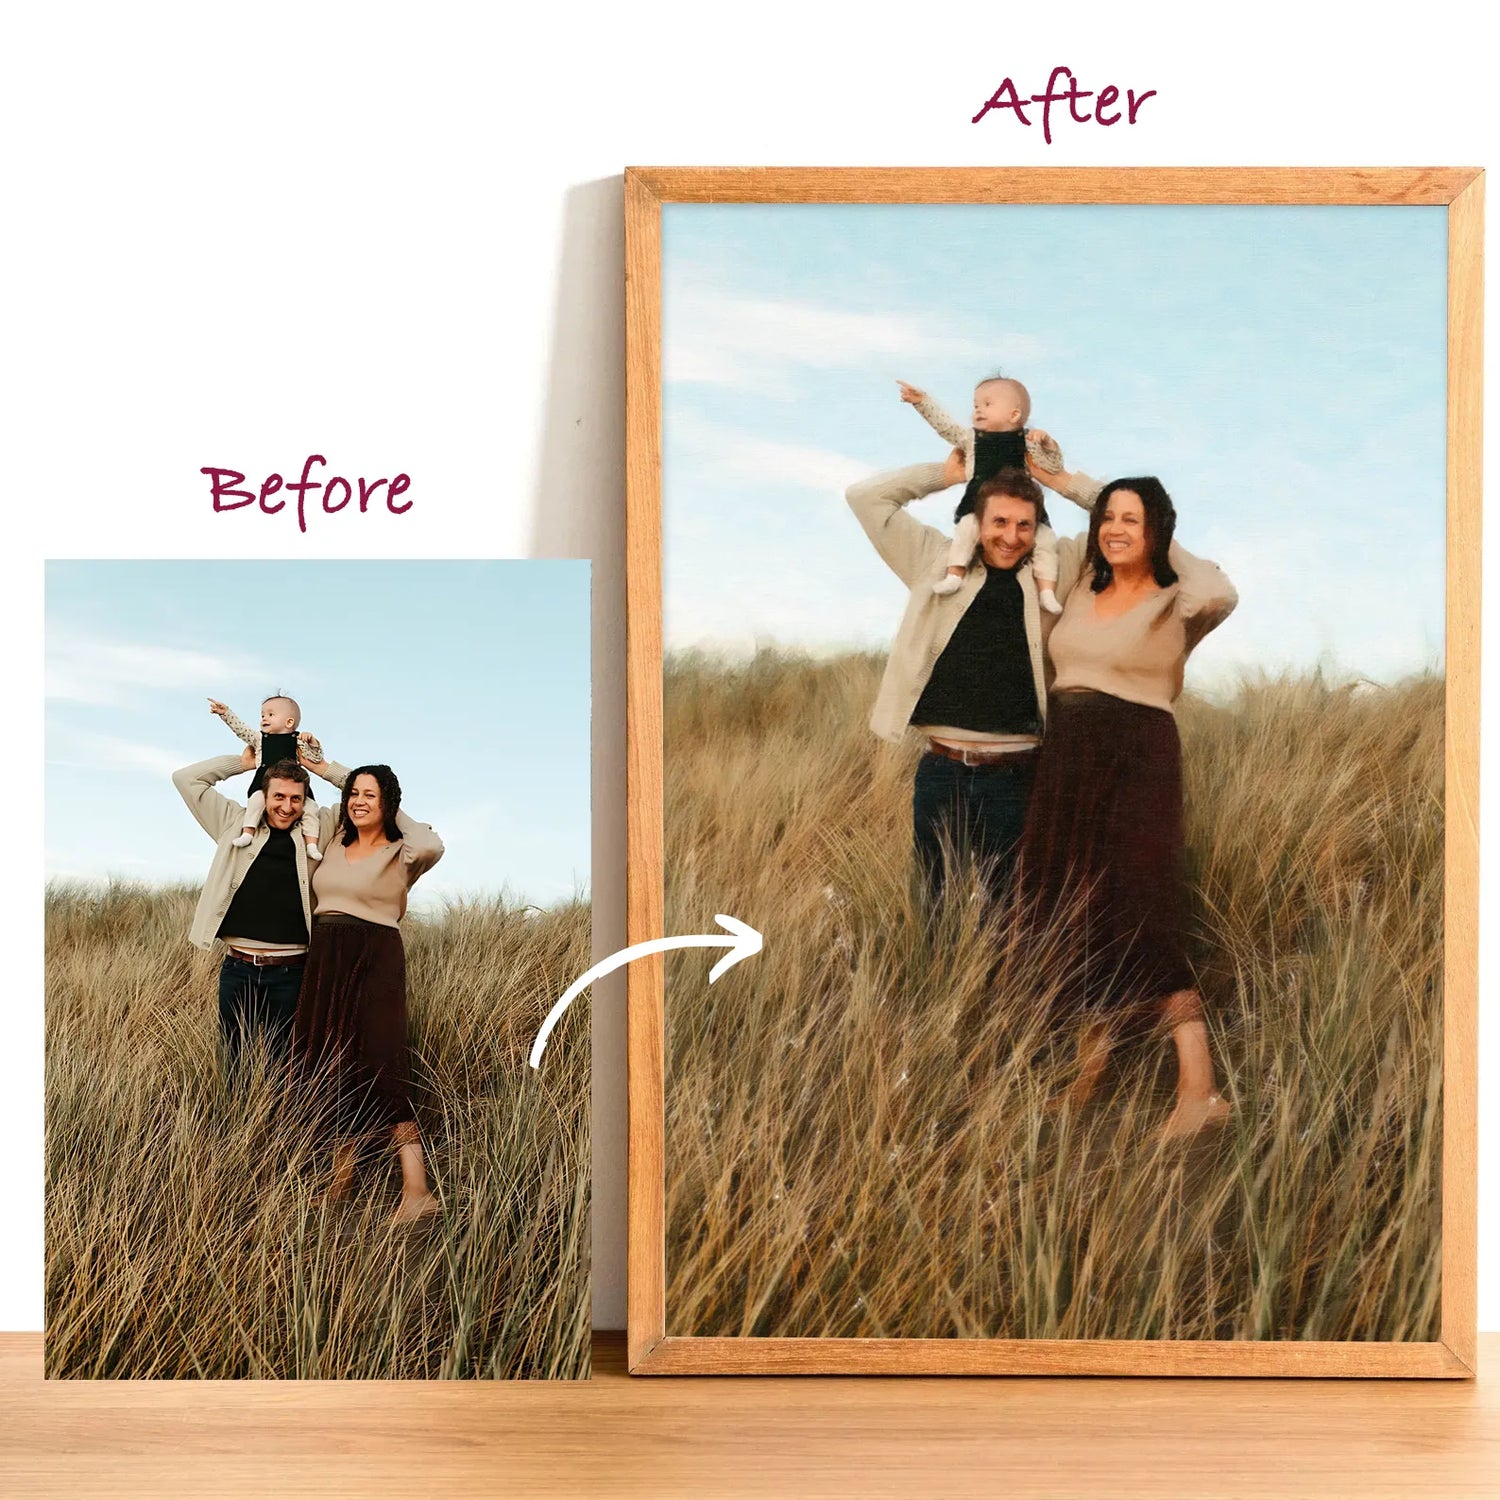

How to Frame a Diamond Painting with Stretcher Bars: The Complete Step-by-Step Guide
You've spent hours — maybe weeks — placing every diamond with care. The colors are vibrant, the details are crisp, and the finished canvas in front of you is genuinely beautiful. Now comes the question every diamond painter eventually faces: how do you display it in a way that does it justice?
Stretcher bars are the answer most experienced crafters reach for, and for good reason. Unlike standard picture frames, stretcher bars wrap your canvas around a wooden frame to create a clean, borderless display — the same gallery-style mounting used for traditional oil and acrylic paintings. The result looks polished, professional, and completely at home on a wall. And while the process sounds intimidating if you've never done it before, it is straightforward once you know the steps.
This guide walks you through everything: what stretcher bars are, what you'll need, how to mount your painting, and how to hang and care for it long-term.
What Are Stretcher Bars?
Stretcher bars are interlocking wooden bars, typically sold in pairs by length, that slot together at the corners to form a rectangular frame. You stretch your canvas over this frame and staple it to the back, pulling it taut so the front surface is smooth, tight, and wrinkle-free.
The finished result has no outer frame border — the artwork wraps around the edges of the wood and the piece sits flush against the wall, giving it a modern, gallery-canvas look. The diamonds on the front face directly outward at the viewer, with no glass or acrylic layer between them and the light. This is important for diamond paintings specifically: glass mutes the sparkle that makes these pieces special.
Stretcher bars are available in a wide range of standard lengths, making it possible to frame almost any canvas size by combining the right pair of bar lengths. They are also reusable — if you ever want to reframe or store a piece, you can unstitch the staples and disassemble the bars without damaging the canvas.

Why Choose Stretcher Bars Over Other Framing Methods?
There are several ways to display a finished diamond painting — standard picture frames, shadow boxes, magnetic hangers, foam board mounting — and all of them have their place. But stretcher bars have specific advantages worth understanding.
They showcase the full painting without a mat or border cutting into the design. A standard frame requires the painting to fit inside the rabbet, which often means trimming the canvas or losing some of the design to the frame lip. With stretcher bars, the entire painted surface is visible.
They eliminate the glass problem. Standard framed diamond paintings behind glass look flat. The glass scatters and diffuses the light before it reaches the drills, and the characteristic sparkle disappears. Stretcher bar mounting displays the diamonds completely open to the room's light, letting them catch and reflect light from every angle the way they were designed to.
They give the piece genuine three-dimensional presence. A stretched canvas sits off the wall by the depth of the stretcher bars — typically 1.5cm to 3cm — which gives it visual weight and presence. It looks less like a framed print and more like original art.
They are size-flexible. Standard frames come in fixed sizes that rarely match diamond painting canvas dimensions exactly. Stretcher bars can be combined in any length combination to match your specific canvas.
What You'll Need
Before you begin, gather the following:
Stretcher bars in the correct dimensions for your canvas. Measure your painted area (not the total canvas including margins) and choose bars that match those dimensions exactly, or up to 1–2cm smaller. Going larger risks the canvas not reaching the back of the frame.
A staple gun and staples rated for wood. Standard office staplers will not hold. You need a hand-operated or electric staple gun with staples at least 8–10mm in length.
Canvas pliers. These grip the edge of the canvas and allow you to pull it with even, controlled tension before stapling. They make a significant difference in achieving a smooth, wrinkle-free surface and are inexpensive at any craft or hardware store.
Scissors or a craft knife for trimming excess canvas from the back of the frame after mounting.
A rubber mallet or hammer, for fully seating the corner joints of the stretcher bars if they are a tight fit.
A tape measure and pencil for centering the canvas on the frame.
A level for hanging.
Picture hanging hardware — D-ring hooks or a wire stretched between two D-rings are both suitable. Most stretcher bars are not pre-drilled for hanging.
Optional: wood glue for reinforcing the corner joints. Not always necessary for smaller pieces, but worth using for large canvases.
Optional: sealer, if you have not already sealed your painting. Sealing before framing bonds the drills to the canvas and eliminates the risk of any diamond shifting during the stretching process.

Step One: Seal Your Painting (Recommended)
If you have not already sealed your finished diamond painting, this is the best moment to do so — before framing rather than after.
Sealing bonds every drill to the adhesive canvas, preventing any movement during the stretching process and any loosening in the years after. It also protects the surface from dust and moisture in long-term display.
Use a water-based, clear-drying sealer applied with a soft flat brush or a foam sponge applicator. Work in smooth, even strokes from one edge to the other, being careful not to push drills out of position. Allow the first coat to dry fully before applying a second if desired.
One thing to know about sealers and sparkle: some sealers will slightly reduce the shimmer of your diamonds, particularly if applied in a heavy coat. To minimize this, apply thin coats and look for sealers specifically marketed for diamond painting. Test on a small corner if you are unsure. Many painters find the trade-off worthwhile for the added permanence — particularly for a painting going onto a wall where it may hang for years.
If you plan to frame the painting behind glass rather than use stretcher bars, you can skip sealing, as the glass provides physical protection. For stretcher bar mounting — where the surface will be open to the room — sealing is genuinely worth the step.
Step Two: Flatten the Canvas
A canvas that arrives rolled or has developed creases during the painting process will be difficult to stretch smoothly. Take time to flatten it before you begin.
Lay the canvas face-up on a flat surface and place heavy, flat objects — books, boards, or a glass panel — across the full surface. Leave it for several hours or overnight. For stubborn creases on the back of the canvas (not the diamond surface), a very low-heat iron with a cloth barrier between the iron and canvas can help — move continuously and never let the iron sit still.
Do not apply heat directly to the diamond surface under any circumstances.
Step Three: Assemble the Stretcher Bars
Take your stretcher bars and slot the corners together to form a rectangle. The corners are milled with interlocking notches — push them firmly together until the joint is flush and the corner is a true 90-degree angle. If the fit is tight, use the rubber mallet to tap the joint closed gently.
Before gluing, confirm the frame is square by measuring diagonally from corner to corner in both directions. The two diagonal measurements should be equal. A frame that is even slightly out of square will cause the canvas to sit crooked.
If you are using wood glue, apply a small amount to each corner joint before pressing together, wipe away any excess, and allow to dry fully before proceeding.
For large canvases — anything above 60x60cm — consider adding a central crossbar for support. Without it, larger frames can flex slightly under canvas tension, which creates subtle bowing in the center of the painting when hung. Most stretcher bar kits designed for diamond painting include crossbar options for larger sizes.
Step Four: Position the Canvas on the Frame
Lay your diamond painting face-down on a clean, smooth surface. A clean bedsheet or soft tablecloth on top of a table works well — you want to protect the diamonds from being pressed against a hard surface during this step.
Place the assembled stretcher bar frame centered on the back of the canvas, with equal margins on all four sides. Use your tape measure to confirm the margins are even — typically 3–5cm of canvas should extend beyond each edge of the frame.
Mark the center point of each bar's edge lightly with a pencil. These marks will serve as reference points during stapling to ensure the canvas stays centered as you work.
Step Five: Stretch and Staple the Canvas
This is the most technique-dependent step, and getting it right makes the difference between a taut, smooth result and a finished piece with visible wrinkles or uneven tension.
The key principle is to always work in opposing pairs — staple one side, then the directly opposite side — and to alternate rather than working continuously around the frame. This keeps tension balanced and prevents the canvas from being pulled off-center.
Begin at the center of one long edge. Use your canvas pliers to grip the canvas margin firmly and pull it over the back of the stretcher bar with steady, even tension. Staple at the center mark. Now move to the center of the opposite long edge, pull with the same tension, and staple. Repeat for the two short edges, always pulling the canvas toward you and stapling at the center before moving outward.
Continue working outward from each center point toward the corners, placing staples every 3–5cm and alternating sides with each staple. Keep tension consistent — you are aiming for a surface that feels firm under light fingertip pressure but not drum-tight.
When you reach the corners, fold the excess canvas neatly — similar to wrapping a gift — and staple the fold flat against the back of the frame. Take your time at the corners; neat folds here make the back of the frame look clean and professional.
Periodically flip the painting over to check the front surface for wrinkles. If you spot a wrinkle, locate the nearest staple on the opposing side, remove it, re-pull, and re-staple. Most wrinkles can be resolved this way before you've gone too far.
Step Six: Trim Excess Canvas and Finish the Back
Once all sides are stapled and you are satisfied with the front surface, flip the painting face-down and trim any canvas that extends beyond the staple line on the back of the frame. Use scissors or a craft knife with a fresh blade.
If any staples are sitting proud (not fully flush against the wood), press them down with the mallet or a staple setter. Loose or raised staples can catch on walls or fingers.
If you are planning to stain or paint the visible edges of the stretcher bars — which are visible from the side when the piece is hung — do this now before adding hanging hardware. A coat of flat black or matte white paint on the bar edges gives the piece a clean, finished look from any viewing angle.
Step Seven: Add Hanging Hardware
The most reliable hanging method for a stretched canvas is two D-ring hooks screwed into the back of the top stretcher bar, positioned about one-quarter of the canvas width in from each corner. Thread a length of picture hanging wire between them, leaving enough slack so the wire forms a gentle arc about 5cm below the top of the frame when taut — this is what catches the wall hook.
Alternatively, for smaller pieces, a single sawtooth hanger centered on the top bar is sufficient.
For very large or heavy diamond paintings, use two separate wall hooks rather than a single hook with wire. Large stretched diamond paintings carry substantial weight from the drills and can pull a single hook out of drywall over time.
Step Eight: Hang and Level
Choose your location thoughtfully. Direct sunlight will not damage the diamonds themselves, but it can cause some canvas materials to expand slightly over years of exposure, which can lead to the canvas loosening on the frame. A location with bright but indirect light is ideal — it will keep the diamonds sparkling without the risks of prolonged direct sun.
Avoid locations with high humidity fluctuations, such as directly above a heating vent or in a bathroom. Temperature and humidity changes cause wood to expand and contract, which over time affects canvas tension.
Use a level when marking your wall hook position. A diamond painting that is even slightly off-level is much more noticeable than a crooked photograph or print, because the grid pattern of the drills amplifies any tilt.
Troubleshooting
Canvas has visible wrinkles after stapling. Remove the staples on the opposite side from the wrinkle, re-pull the canvas with slightly more tension, and re-staple. If wrinkles persist across the full painting, remove all staples and start the stretching process again — this is not as daunting as it sounds and is much easier than trying to correct tension issues piecemeal.
Canvas pulls away from the frame in one corner. The canvas may not have been centered correctly, or one corner was pulled too tightly. Remove the staples in that area and reposition.
Corners look bunched or uneven. Reopen the corner fold and try again with neater hospital-corner-style folds. Practice on a scrap piece of fabric first if needed.
The frame is not square. If the diagonal measurements don't match, the frame will produce a trapezoidal result rather than a true rectangle. Disassemble the corners, reassemble more carefully, and re-check squareness before proceeding.
Drills shifting during stretching. If you did not seal the painting beforehand and drills are moving during the process, stop and seal the painting before continuing. Let the sealer dry fully before resuming.
Alternatives to Stretcher Bars
While stretcher bars are an excellent choice for most diamond paintings, they are not the only option. It is worth knowing what else is available.
Standard picture frames work well for smaller paintings where an exact-size frame can be found, and for crafters who want the option to swap prints in and out of the same frame. Remove the glass for best sparkle results, or replace it with thin acrylic sheeting.
Shadow box frames add a recessed depth that gives the painting a slightly dimensional, protected look. They work particularly well for smaller pieces that would otherwise have too much empty space in a standard frame.
Magnetic poster hangers — two long bars with embedded magnets that clamp the top and bottom edges of the canvas — offer a minimal, no-damage display option that requires no stapling or stretching. The canvas hangs flat and can be removed and rerolled at any time. The trade-off is that the canvas will not be as taut as a stretched piece, and large paintings may show slight rippling.
Foam board mounting uses acid-free adhesive to bond the finished canvas to a rigid foam backing, which is then hung or placed on an easel. It is flat, lightweight, and inexpensive, but less archival than stretcher bar mounting — and difficult to reverse if you ever want to reframe.
Final Thoughts
Stretcher bar framing is the finishing touch a diamond painting deserves. After the hours you have invested in completing the piece, mounting it properly makes the difference between a rolled canvas in a drawer and a piece of art on your wall that will genuinely stop people in their tracks.
The process takes about thirty to sixty minutes for most standard canvas sizes and requires no specialized skills — just patience, even tension, and careful attention to keeping everything centered and square. The result is a clean, gallery-quality display that lets every drill catch the light the way it was meant to.
Your painting earned a real frame. This is how you give it one.