
30 Game-Changing Paint by Numbers Tips & Techniques for Beginners
So you've just unboxed your first paint by numbers kit. The canvas is spread on your table, the tiny numbered pots of paint are lined up like soldiers, and you're holding a brush with a mixture of excitement and mild panic. I've been there — and I want to tell you something important: you are going to love this.
Paint by numbers is one of the most satisfying creative hobbies you can pick up, but like anything worth doing, a few insider tricks separate a frustrating first experience from a truly joyful one. Over years of painting and helping thousands of 1001canvas customers get started, I've compiled the 30 tips that make the biggest difference. Whether you're a complete novice or returning after a long gap, this guide is for you.
Let's get into it.
Section 1: Setting Up for Success

Tip 1 — Flatten Your Canvas Before You Begin
Rolled canvases arrive creased. Unroll yours the night before and place it face-down under a stack of heavy books. A flat canvas means your brush glides smoothly and the numbers stay legible throughout the session.
Tip 2 — Set Up in Natural Light Whenever Possible
Artificial lighting distorts color perception. Numbers on the canvas can look similar under a warm lamp but appear clearly different in daylight. Position yourself near a window, especially when distinguishing between close shades like navy and indigo, or cream and white. If painting at night, use a daylight-balanced LED bulb (5000–6500K) for the most accurate color view.
Tip 3 — Protect Your Surface
Acrylic paint dries permanently and stubbornly. Cover your table with an old newspaper, a silicone mat, or a sheet of parchment paper. Future-you will be very grateful.
Tip 4 — Keep Two Water Cups on Hand
Use one cup for a first rinse of your brush, and a second clean cup for the final rinse. This keeps your rinse water cleaner longer and prevents muddy color contamination between sections.
Tip 5 — Photograph the Original Color Chart
Before you open a single paint pot, take a photo of the color-to-number reference chart included in your kit. If the printed guide gets wet or smudged mid-session, you'll have a backup on your phone.
Section 2: Working with Paint

Tip 6 — Stir Your Paints, Don't Just Shake
Paint separates during shipping. Shaking can introduce air bubbles that leave streaks. Use a toothpick or the end of a spare brush to gently stir each pot before dipping in. You'll notice the consistency is instantly smoother.
Tip 7 — Thin Your Paint Just Slightly for Better Coverage
If paint feels thick or clumpy, dip your brush tip briefly in water and mix it into the pot. You're aiming for the consistency of heavy cream — fluid enough to flow, thick enough to cover the printed number in one or two coats. Don't over-thin: too much water and your paint becomes translucent and the numbers bleed through.
Tip 8 — Keep Lids Closed When Not in Use
Acrylic paint skins over within minutes of air exposure. Only open the pot you're actively using, and press lids back down firmly between colors. If a pot has partially dried, add a drop of water and stir — it will often revive beautifully.
Tip 9 — Don't Overload Your Brush
A common beginner mistake is dipping too deep into the pot and loading the brush with excess paint. This leads to overflow into adjacent sections. Dip just the first third of your bristles, then drag the brush gently against the pot rim to remove excess before applying.
Tip 10 — Apply at Least Two Thin Coats
One thick coat almost always shows brush strokes, cracks when dry, and struggles to fully hide the printed number. Two thinner, even coats dry faster, look smoother, and give you much more control over the final result. Let the first coat dry completely before applying the second.
Section 3: Brush Technique & Control

Tip 11 — Use the Right Brush for the Right Section
Most kits come with 2–3 brushes. Use the widest brush for large background areas, a medium brush for mid-sized sections, and the finest brush for tiny details and number borders. Switching brushes is not fussy — it's efficient.
Tip 12 — Paint in the Direction of the Subject
Follow the natural flow of what you're painting. For fur, stroke outward from the center. As For water, paint horizontally. For sky, sweep broadly across. This gives your finished piece a more organic, hand-painted quality.
Tip 13 — Hold the Brush Like a Pen for Detail Work
For small sections, grip your brush close to the ferrule (the metal band) like you're writing. This gives you far more precision than holding it near the end. Your wrist does the work, not your whole arm.
Tip 14 — Don't Scrub — Glide
Scrubbing with a brush pushes paint into the canvas texture unevenly and frays your bristles quickly. Instead, lay the brush flat against the surface and glide it with light, consistent pressure. The paint should follow the brush without resistance. If it isn't flowing smoothly, the problem is usually consistency — add a tiny drop of water to the pot and stir.
Tip 15 — Rinse and Dry Your Brush Between Colors
After rinsing in water, always dab the brush on a paper towel or cloth before picking up the next color. A wet brush dilutes your paint and muddies transitions. This step takes three seconds and makes a visible difference.
Section 4: Smart Painting Order & Strategy

Tip 16 — Start with the Background, Not the Subject
Painting background sections first gives you clean borders to paint up to when you move to foreground elements. If you paint the focal point first, you'll constantly be working around it and risk smudging your most important sections.
Tip 17 — Work Dark to Light
Fill in your darkest shades first, then progressively lighter ones. This prevents light colors from getting contaminated by neighboring dark paints that haven't fully dried yet. It also makes it easier to blend and correct as you go.
Tip 18 — Paint One Color Across the Entire Canvas at Once
Rather than completing one section at a time, find all areas with the same number and paint them in a single session. This minimizes pot-opening, reduces drying time between same-color applications, and keeps the color perfectly consistent throughout.
Tip 19 — Let Each Section Dry Before Painting Adjacent Areas
Acrylic paint dries fast — often within 5–15 minutes depending on humidity and thickness. Resist the urge to rush. Painting into a wet neighbor section causes colors to bleed and muddies edges that are otherwise crisp.
Tip 20 — Use a Magnifying Glass for Tiny Sections
If your kit has very small numbered sections, a handheld magnifier or a clip-on phone magnifier lens is genuinely transformative. You'll paint those sections in half the time with twice the accuracy.
Section 5: Common Mistakes & How to Fix Them

Tip 21 — Painted the Wrong Color? Don't Panic
Acrylic paint is very forgiving while wet. If you catch a mistake immediately, wipe the area with a damp cloth, let it dry, and repaint. If it's already dry, simply paint over it once the error coat dries fully — acrylics cover well with two coats.
Tip 22 — Numbers Showing Through? Add One More Coat
If the printed numbers are still visible after your first coat, that's completely normal — especially with lighter colors like yellow, white, or pale pink. Simply let it dry and add a second thin coat. Three coats for very light colors over dark print is not unusual.
Tip 23 — Paint Dried Out? Try Rehydrating
If a pot has dried to a thick paste, add a small drop of warm water, press the lid back down, and let it sit for 10 minutes before stirring. Many dried paints come fully back to life. If the pot has completely solidified, contact the seller — most reputable brands will replace dried pots.
Tip 24 — Bristles Splaying? Clean Your Brushes Properly
After your session, wash brushes thoroughly with mild soap and water, reshape the bristles with your fingers, and store them bristle-up in a jar or lying flat. Never leave brushes standing in water — it bends and ruins the bristles permanently. If a brush has splayed irreparably, swap it out — the right tool makes everything easier.
Tip 25 — Frustrated by a Difficult Section? Take a Break
Paint by numbers is meant to be meditative and enjoyable. If a section is making you tense, set it aside. Come back with fresh eyes and you'll find it noticeably easier. Your brain processes spatial information even when you're not actively working — rest is productive.
Section 6: Finishing, Framing & Display

Tip 26 — Wait 24 Hours Before Applying a Varnish
Once you've completed the painting, let it cure for at least 24 hours before applying any finishing varnish. Even if it feels dry to the touch, the deeper layers of paint may still be curing. Rushing this step can cause cloudiness or peeling.
Tip 27 — Apply a Finishing Varnish for Protection and Depth
A light coat of acrylic varnish — matte, satin, or gloss, your preference — protects the surface from dust and UV light, and unifies the finish so all sections look equally vibrant. Apply with a wide, soft brush in long sweeping strokes. Gloss varnish makes colors pop. Matte creates a gallery-style flat finish. Satin is the best of both worlds for most paintings.
Tip 28 — Touch Up Any White Canvas Gaps Before Varnishing
Look closely at your finished canvas in good lighting. Tiny unpainted slivers between sections — especially along the borders of color blocks — are common. Use the tip of your finest brush with the appropriate color to fill these in before varnishing. This small detail elevates the finished piece dramatically.
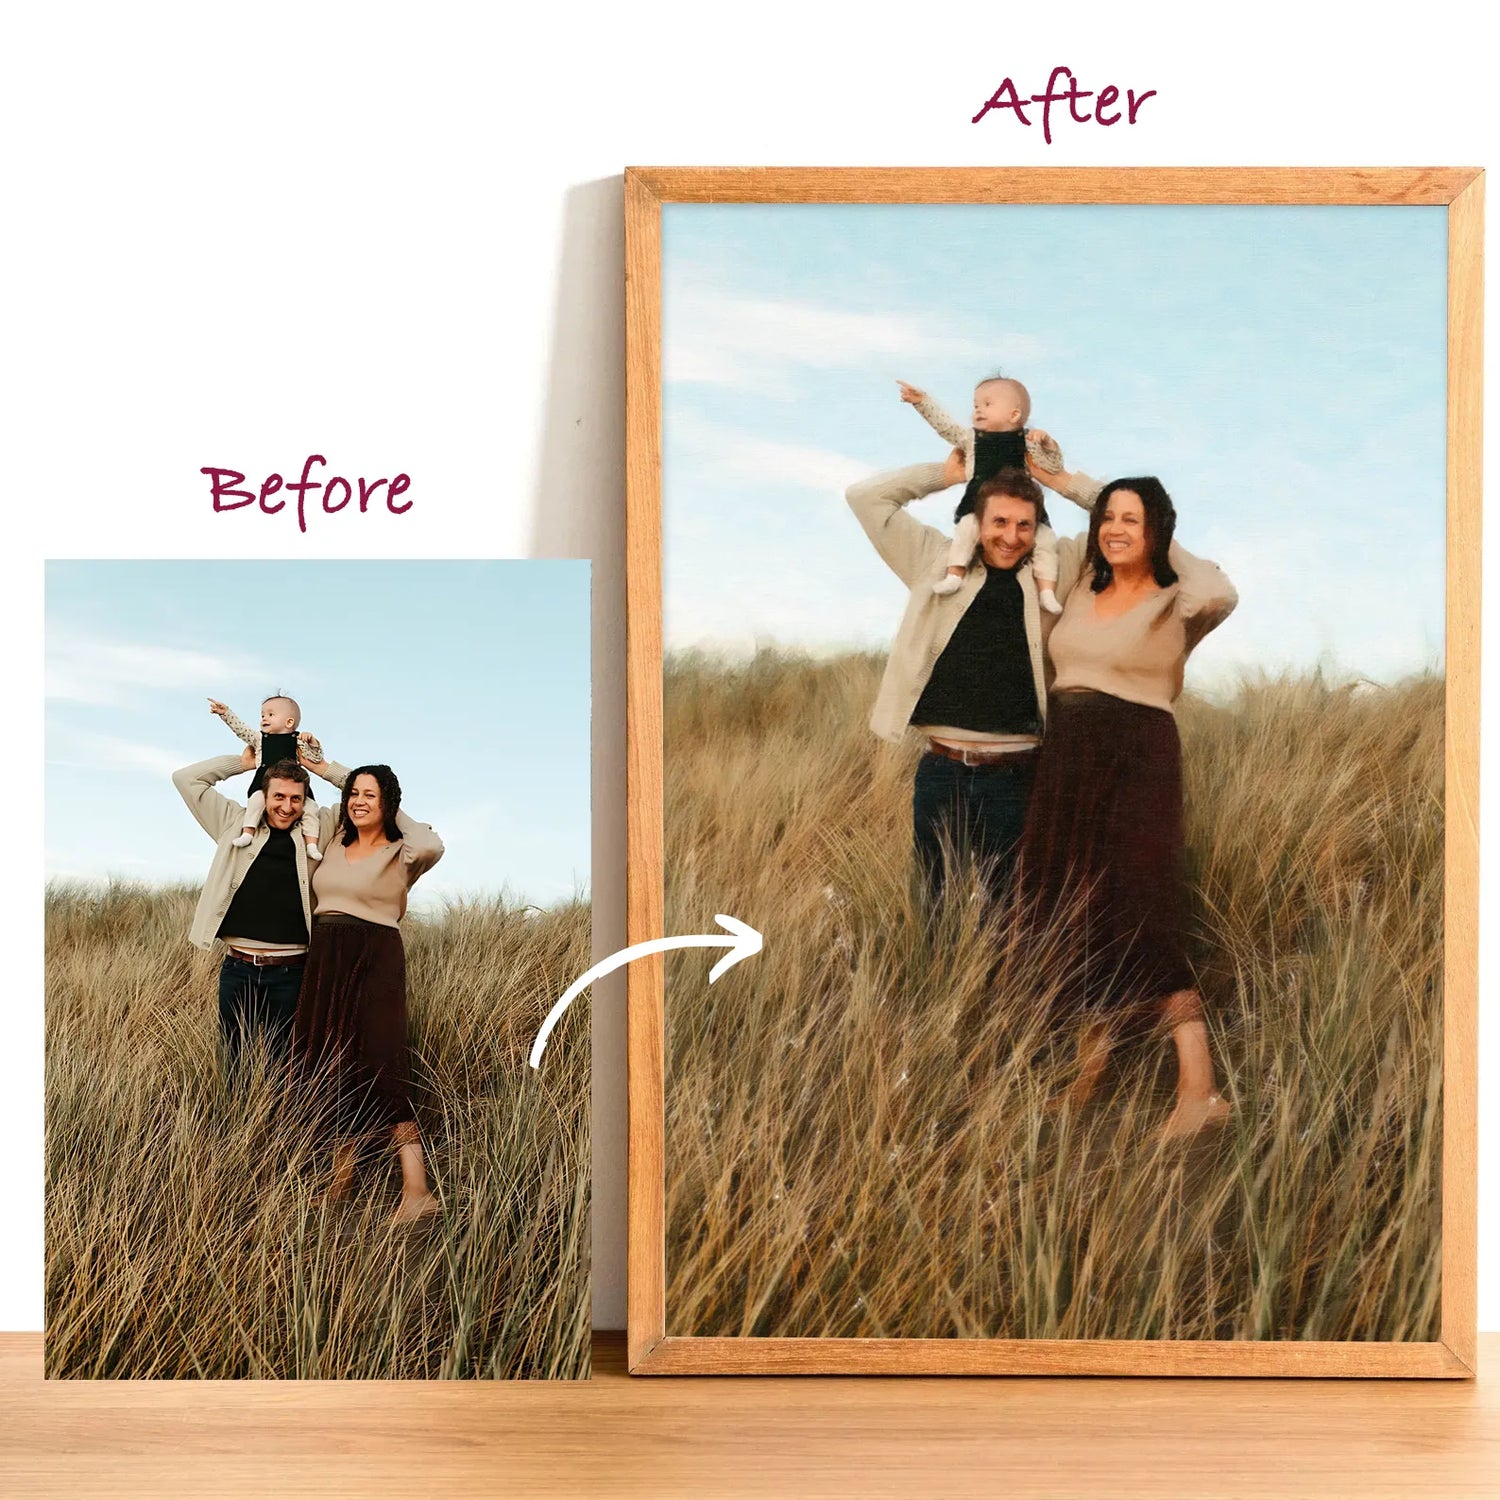
Tip 29 — Frame It — You've Earned It
A completed paint by numbers is a genuine work of art that you made with your own hands. Don't roll it up and forget about it. A simple frame from any home store transforms it into a piece you'll be proud to display. Choose a frame color that complements the painting's dominant palette.
Tip 30 — Share Your Work — and Start Your Next One
The best thing about finishing a paint by numbers kit is what it does to your confidence. Most people are genuinely astonished by what they've created. Share a photo with friends or on social media, tag us at 1001canvas, and then — while that creative momentum is alive — browse your next kit. The second one is always even more enjoyable than the first.
Start Your Paint by Numbers Journey
There you have it — 30 tips that will genuinely change the way you approach paint by numbers from your very first brushstroke. Remember: the goal isn't perfection. The goal is the quiet, focused joy of making something beautiful with your own hands. Every artist starts somewhere. You've already started.

 https://1001canvas.com/blogs
Emily Clarke is a dynamic and insightful columnist specializing in fashion, parenting, and lifestyle content. With a sharp eye for trends and a warm, relatable voice, she bridges the gap between high-fashion aesthetics and practical parenting advice. A graduate of the University of Southern California’s School of Journalism, Emily combines rigorous research with storytelling flair, making her work both informative and engaging. Her articles often explore themes like sustainable fashion, modern motherhood, and balancing style with functionality. Known for her collaborative spirit and deadline-driven mindset, Emily has contributed to leading magazines and digital platforms, earning a loyal readership among young parents and style enthusiasts. Outside writing, she enjoys urban gardening, vintage thrifting, and curating a minimalist wardrobe.